How to Introduce Your Dog to a Hidden Fence

Installing a hidden electronic fence is a fantastic, modern way to give your dog the freedom they crave while keeping them absolutely safe on your property. However, the technological system is only as good as the training that accompanies it. Dogs do not naturally understand invisible boundaries; they must be carefully and systematically taught where the boundaries are and how to react to the system's warning signals. Here is a comprehensive, step-by-step guide to introducing your dog to their new hidden fence smoothly and without stress.

1. Understand the Technology and the Goal
Before any active training begins, ensure you fully understand how your specific containment system works. The specialized collar will emit an audible warning tone (and sometimes a vibration) as the dog approaches the established boundary, followed by a mild static correction if they proceed further. The ultimate goal of this training is for the dog to instinctively retreat at the warning tone, never actually reaching the correction zone.
It is vital to view the static correction not as a punishment, but as a startle mechanism—similar to a tap on the shoulder—designed to break their focus on whatever is outside the yard and redirect their attention back to the safety of the property. Your attitude during training must remain upbeat, positive, and encouraging.
Ensure the collar fits correctly before starting. It should be snug enough that the contact points touch the dog's skin through their fur, but not so tight that it causes discomfort. A loose collar will not deliver consistent signals, which will confuse your dog and completely derail the training process.
Familiarize yourself with the transmitter settings as well. Know how to adjust the boundary width and the correction levels. During the initial phases, you will be relying heavily on the tone-only setting, so ensure you know exactly how to activate it.
2. Establish Visual Boundary Flags
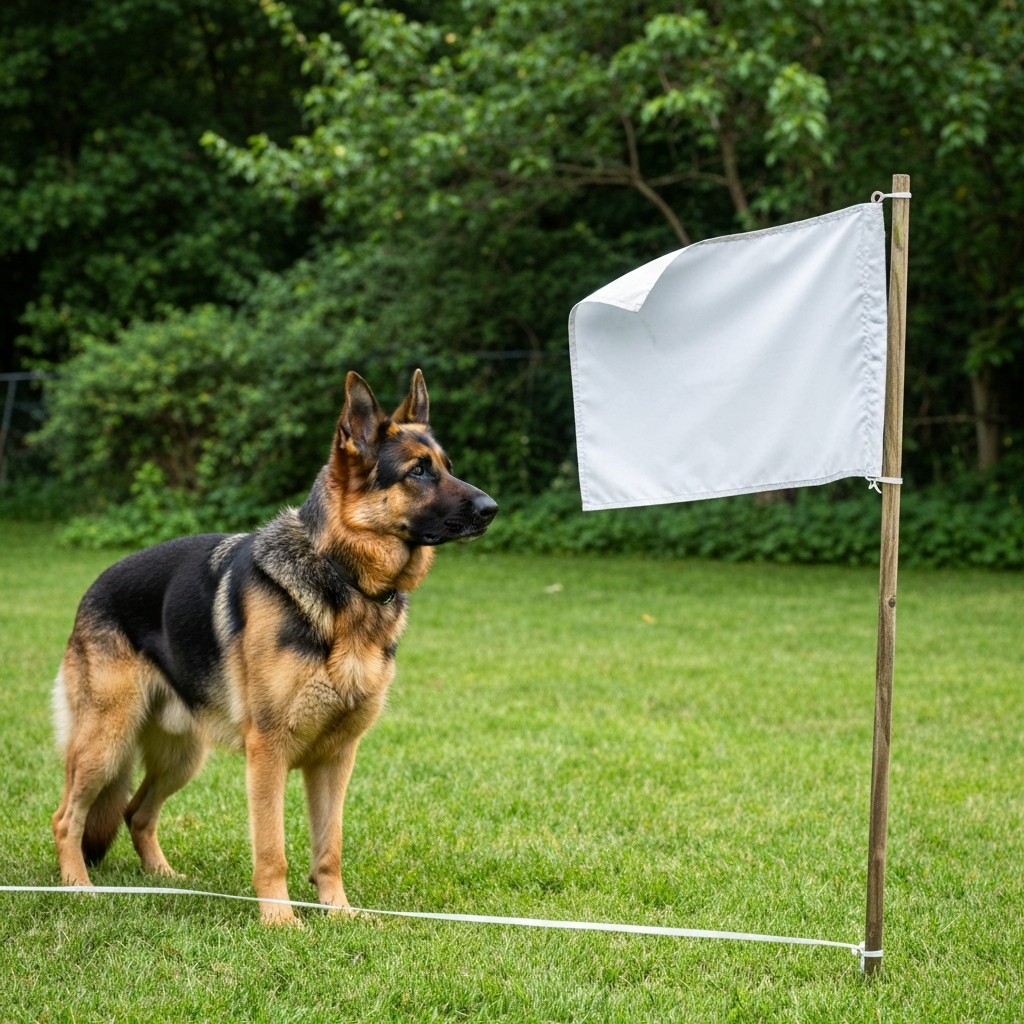
Visual aids are absolutely critical during the initial learning phase. Place white or brightly colored training flags along the entire perimeter of the boundary line, spaced about 10 feet apart. These flags give your dog a clear, concrete visual representation of where the invisible warning zone begins.
Leave these flags up for several weeks, even after the initial training is complete. They serve as a constant visual reminder while the dog is building muscle memory and spatial awareness of the yard's limits. Only begin removing the flags gradually (every other flag) once the dog has been successfully contained for at least a month.
Walk the perimeter yourself without the dog first to ensure you know exactly where the signal triggers. This will allow you to anticipate the collar's beep and react perfectly during the training sessions. Your timing as a handler is crucial to the dog's understanding.
If your property has distinct visual markers like a treeline or a driveway, place the flags slightly inside those natural boundaries to give the dog a clear buffer zone before they reach the actual edge of your property.
3. Tone-Only Training Phase (Days 1-3)
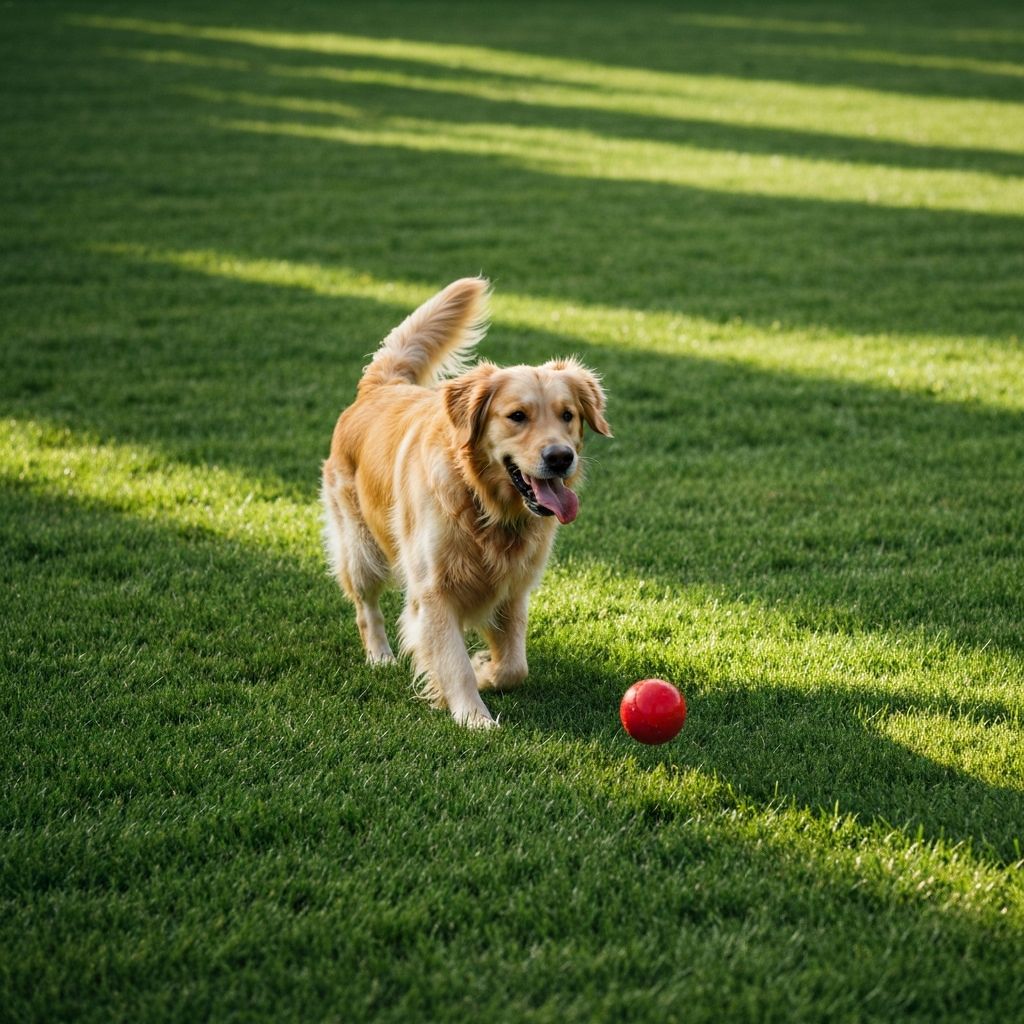
For the first few days, set the collar to "tone-only" mode, meaning no static correction will be administered. Put your dog on a standard leash and walk them happily around the yard. Slowly approach the boundary flags. When the collar emits the warning beep, immediately pull your dog back into the "safe zone" and reward them enthusiastically with high-value treats and praise.
Repetition is key to building this reflex. Do this multiple times around different parts of the yard during short, 10-15 minute sessions. Your dog needs to learn that the beep means "turn around and run back to the center of the yard for a party."
Make sure you are retreating playfully. Run backwards, clap your hands, and use a happy voice to encourage the dog to follow you away from the flags. The safe zone should be the most fun place in the world, while the flag line should be associated with the cue to turn around.
Do not let your dog cross the flag line during this phase. If they try to pull past the flags, use the leash to gently but firmly guide them back into the safe zone. Consistency here sets the foundation for the entire system.
4. Introduction to Correction (Days 4-7)
Once your dog reliably retreats at the tone and visual flags, it is time to introduce the static correction. Set the collar to the lowest effective level. Approach the boundary on a leash just as before. Allow your dog to walk slightly past the flags and receive the correction. The moment they feel it and startle, gently guide them back to the safe zone and reward them.
Do not comfort, coddle, or apologize to the dog if they are startled or yelp at the correction. If you act worried, your dog will become fearful of the yard. Instead, act upbeat, confident, and show them that running back to the safe zone instantly makes everything better.
If your dog does not react to the lowest level, gradually increase the correction level one step at a time until you see a noticeable but mild startle response—usually a twitch of the ears or looking down at the ground. You want just enough stimulation to break their focus.
Continue to practice this around the entire perimeter. You will quickly notice that your dog will begin to stop and retreat at the warning tone alone, actively avoiding the correction zone. This means the training is working perfectly.
5. Distraction Training and Off-Leash Transition (Days 8-30)
Now that your dog understands the boundary mechanics, you must test their resolve with real-world distractions. Have a friend walk by on the sidewalk, throw a favorite ball near the boundary, or have another dog play outside the line. Keep your dog on a leash during this phase. If they try to cross the line to get to the distraction, let the system correct them and guide them back.
This critical phase teaches the dog that the boundary rules are absolute and apply no matter how tempting the distraction on the other side might be. A squirrel or a passing dog does not mean the fence is turned off.
When your dog reliably ignores heavy distractions and stays within the boundary, you can begin off-leash supervised play. Drop the leash and let them drag it first, staying in the yard with them, ready to intervene if necessary. Over the next few weeks, gradually increase their unsupervised time in the yard.
Training your dog to use a hidden fence requires patience, consistency, and positive reinforcement. Never rush the process or skip steps. By following this comprehensive guide, you will ensure your dog deeply understands their boundaries and can safely enjoy their newfound outdoor freedom for years to come.